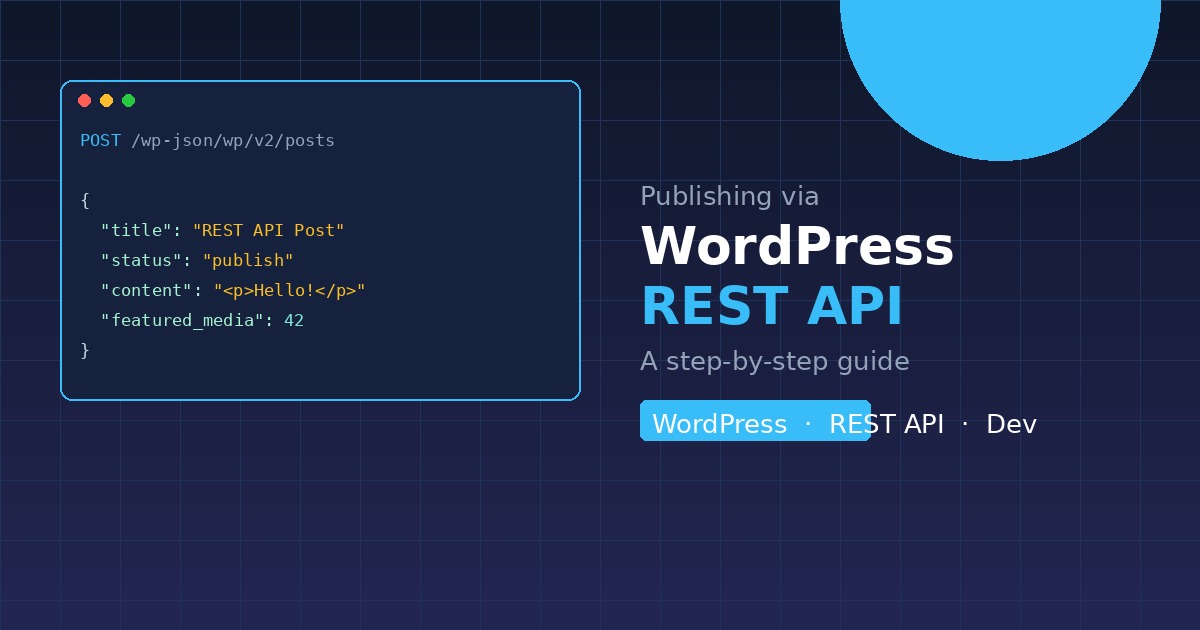
The WordPress REST API is one of the most powerful — and underused — features built into every modern WordPress installation. With it, you can create, update, and delete content programmatically, without ever touching the dashboard. In this post, we’ll walk through exactly how to publish a new post using nothing but an HTTP request.
What You’ll Need
- A WordPress site (version 4.7 or later)
- An account with at least Author permissions
- An Application Password generated from your profile settings
- A tool like
curl, Postman, or any HTTP client
Step 1: Generate an Application Password
Application Passwords are the secure, recommended way to authenticate against the WordPress REST API. Head to Users → Profile in your dashboard, scroll to the Application Passwords section, give it a name, and click Add New Application Password. Copy the password — you won’t see it again.
Step 2: Authenticate Your Request
The REST API uses HTTP Basic Auth with your WordPress username and the application password you just generated. The password includes spaces — that’s fine, just pass it as-is.
curl -u "your_username:xxxx xxxx xxxx xxxx xxxx xxxx" \
  https://yoursite.com/wp-json/wp/v2/users/me
If you get back a JSON object with your user details, you’re authenticated and ready to go.
Step 3: Create the Post
A minimal POST request to /wp-json/wp/v2/posts is all it takes. Here’s a complete example using curl:
curl -s -u "your_username:your_app_password" \
  -X POST https://yoursite.com/wp-json/wp/v2/posts \
  -H "Content-Type: application/json" \
  -d '{
    "title": "My First REST API Post",
    "content": "<p>Hello from the REST API!</p>",
    "status": "publish",
    "excerpt": "A post created programmatically via the WordPress REST API."
  }'
The response will be a full JSON object representing the new post, including its id, link, and all metadata. Keep the id handy — you’ll need it if you want to update the post later.
Step 4: Add a Featured Image
Setting a featured image is a two-step process. First, upload the image to the media library, then attach it to the post using its media ID.
Upload the image:
curl -s -u "your_username:your_app_password" \
  -X POST https://yoursite.com/wp-json/wp/v2/media \
  -H "Content-Disposition: attachment; filename=cover.jpg" \
  -H "Content-Type: image/jpeg" \
  --data-binary @/path/to/cover.jpg
Note the id in the response — that’s your featured_media value. Now include it when creating the post (or patch it onto an existing one):
curl -s -u "your_username:your_app_password" \
  -X POST https://yoursite.com/wp-json/wp/v2/posts \
  -H "Content-Type: application/json" \
  -d '{
    "title": "My First REST API Post",
    "content": "<p>Hello from the REST API!</p>",
    "status": "publish",
    "featured_media": 61
  }'
Useful Fields at a Glance
| Field | Type | Description |
|---|---|---|
title | string | The post title |
content | string | The post body (HTML supported) |
excerpt | string | Short summary shown in archive pages |
status | string | publish, draft, pending, or future |
featured_media | integer | Media ID for the featured image |
categories | array | Array of category IDs |
tags | array | Array of tag IDs |
date | string | Publish date in ISO 8601 format |
What’s Next?
Once you’re comfortable creating posts, the same pattern extends to every content type — pages, custom post types, taxonomy terms, and more. You can also use the API to bulk-update old posts, schedule content in advance, or wire up external tools and automations that feed content directly into your site. The REST API turns WordPress from a CMS into a proper platform.
Vastaa